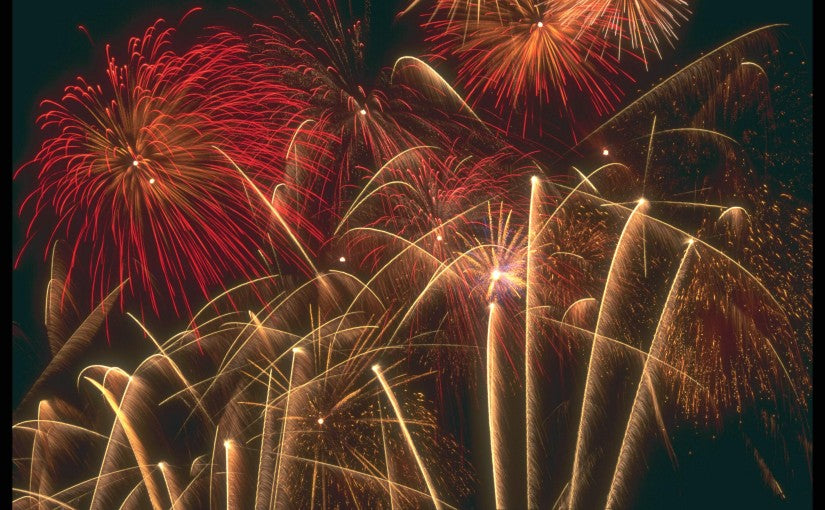
Fireworks Photography Processing
It’s not so many years ago that photographing fireworks was a bit of a hit and miss affair. In the old days, before digital single lens reflex cameras, it wasn’t until the photographs had been processed and printed in your dark room (or the local chemist of course) that you got to see what you actually captured; unless you had a polaroid camera.
These days you can now see instantly the results, this can help when looking at the depth of field, white balance, ISO speed, noise and make a decision if a 3 second exposure would be better than 4 seconds, allowing you to make small corrections as you go.
At Christmas I was presented with a new Fuji Finepix S9500 Bridge camera (half way between a point and shoot camera and a full S.L.R) with both telephoto and macro functions. Luckily, it also came with a copy of “Dummies guide to digital photography”! I also joined in with a photography group (on the best known social media site) and started snapping.
Whilst looking at comments online I saw a lot making mention of a clever piece of computer software called Lightroom 5. On researching further, I told my other half I NEEDED this which of course her indoors agreed to.
Following my guide-book I was advised to shoot in Raw format as this type captures the picture as it was taken with very little processing by the camera in advance of viewing whereas when an image is captured in Jpeg format, the resulting image is the cameras best guess at what it should look like with white balance adjustment, ‘noise reduction’ etc.
The best way I could understand the difference was that a raw format shot is like a chocolate cake with the ingredients listed whereas a Jpeg image is a slice of the cake with no further information. However, using this nifty bit of software, which I found very easy to operate from the outset, but with confidence I am now using more and more of the features with some great results. The difference in what the camera captured and what the users finished photograph is easily retouched.
The functionality of the program allows you to change the ISO speed to make the overall picture lighter or darker, colour saturation can be adjusted if the colour is too weak it can easily be corrected by a click of the mouse as can the sharpness of the captured image and the hue, pastel shades of lilac colours can be tweaked to become vivid purples, blues or reds. Blurred images now become sharp so any graining or image distortion is simply rectified.
I found this short online tutorial from Serge Ramelli and following his easy to follow advice I managed to capture these photographs at the very first attempt.
